Installing Twill
Twill is a standard Laravel package, that means, we only have to require it (and set it up) in order to make it work.
So, before we get to the process of building our CMS, let's install Twill.
We can do this using composer require area17/twill:"^3.4".
This will install Twill 3 alongside all other required packages.
Configuration
With Twill, there are 2 main ways to make your cms available on your site.
Using a path
The default, which does not require additional configuration is to use a path. Twill will be available using:
http://YOURDOMAIN.com/admin, depending on your local setup, this could be http://laravel-twill.test/admin
Using a subdomain
Alternatively, you can use a subdomain. To make that work, open up your .env file and
add:
1ADMIN_APP_URL=admin.laravel-twill.testWhere laravel-twill.test is your domain.
Once it is setup, you should be able to visit http://admin.laravel-twill.test/
Visit our cms
Now that we have configured Twill, let's head over to our cms. Visit the url depending on the configuration you did if all goes well, you should see a not that well themed login page.

Don't worry, this is expected.
If you get a 404 on the other hand, you should double check the Configuration step we just did and make sure there are no typo's.
Finish the installation
As we ended our last step with an non-themed login screen. Let's go ahead and fix that.
Twill's user interface is made in Vue. Every release comes with a pre-compiled set of Javascript and CSS. But before these can work we have to publish them.
In addition to that, we need to migrate our database and create a super administrator so that we can login as well.
We have created a command to do all that, so let's open up the terminal and run:
php artisan twill:install
As you can see from the output, it:
- Prepares and migrates the database
- Publishes the twill.php and translatable.php configuration files
- Publishes the assets
- Prompts you to create a super admin
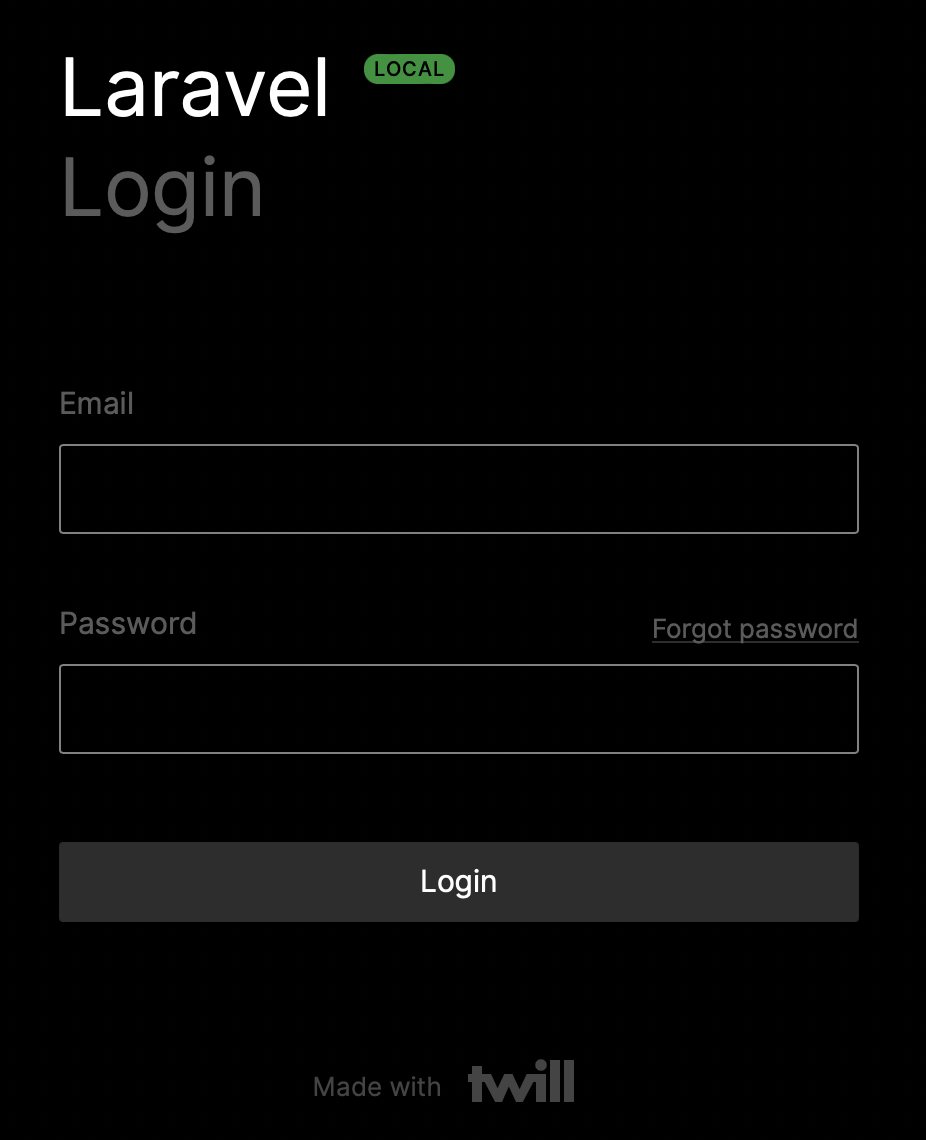
Once you have filled everything in, we can refresh our browser. We now see a proper login screen:

Congratulations, you have successfully installed Twill!
You can now login with the super admin account your created, now let's start building our CMS!