Setup the frontpage
As mentioned before, Twill is headless, it makes no assumptions about what you are trying to build and does not come with a front-end.
We made one, we made a menu, but when you visit /, the root of your domain, you will still see the standard Laravel
landing page.
Let's fix that with a setting!
Adding a settings section
In Twill, we can make settings sections, this we will now use to create a setting in which you can select a front-page page.
We will go back to the AppServiceProvider that we used before and register the setting section:
1<?php 2 3namespace App\Providers; 4 5use A17\Twill\Facades\TwillAppSettings;
6use A17\Twill\Services\Settings\SettingsGroup; 7use Illuminate\Support\ServiceProvider; 8use A17\Twill\Facades\TwillNavigation; 9use A17\Twill\View\Components\Navigation\NavigationLink;10 11class AppServiceProvider extends ServiceProvider12{13 public function register()
14 {15 }16 17 public function boot()18 {19 TwillNavigation::addLink(20 NavigationLink::make()->forModule('pages')21 );22 TwillNavigation::addLink(23 NavigationLink::make()->forModule('menuLinks')->title('Menu')24 );25 TwillAppSettings::registerSettingsGroup(26 SettingsGroup::make()->name('homepage')->label('Homepage')27 );28 }29}This will register the settings group for us. If we go to the back-end and refresh, we will see a "settings" link in the menu.
However, when clicking it, we will get an exception. This is to be expected as we registered a settings group, we still need to create the folder and setting itself.
Create the following directory: resources/views/twill/settings/homepage
This directory will hold our settings blade files. A settings file is just a regular block file. So the same way we can write our blocks, we can write our settings!
Let's create resources/views/twill/settings/homepage/homepage.blade.php and add the following:
1@twillBlockTitle('Homepage')2@twillBlockIcon('text')3@twillBlockGroup('app')4 5<x-twill::browser6 label="Select the homepage"7 module-name="pages"8 name="page"/>Now, head back to the cms and you should see the following:
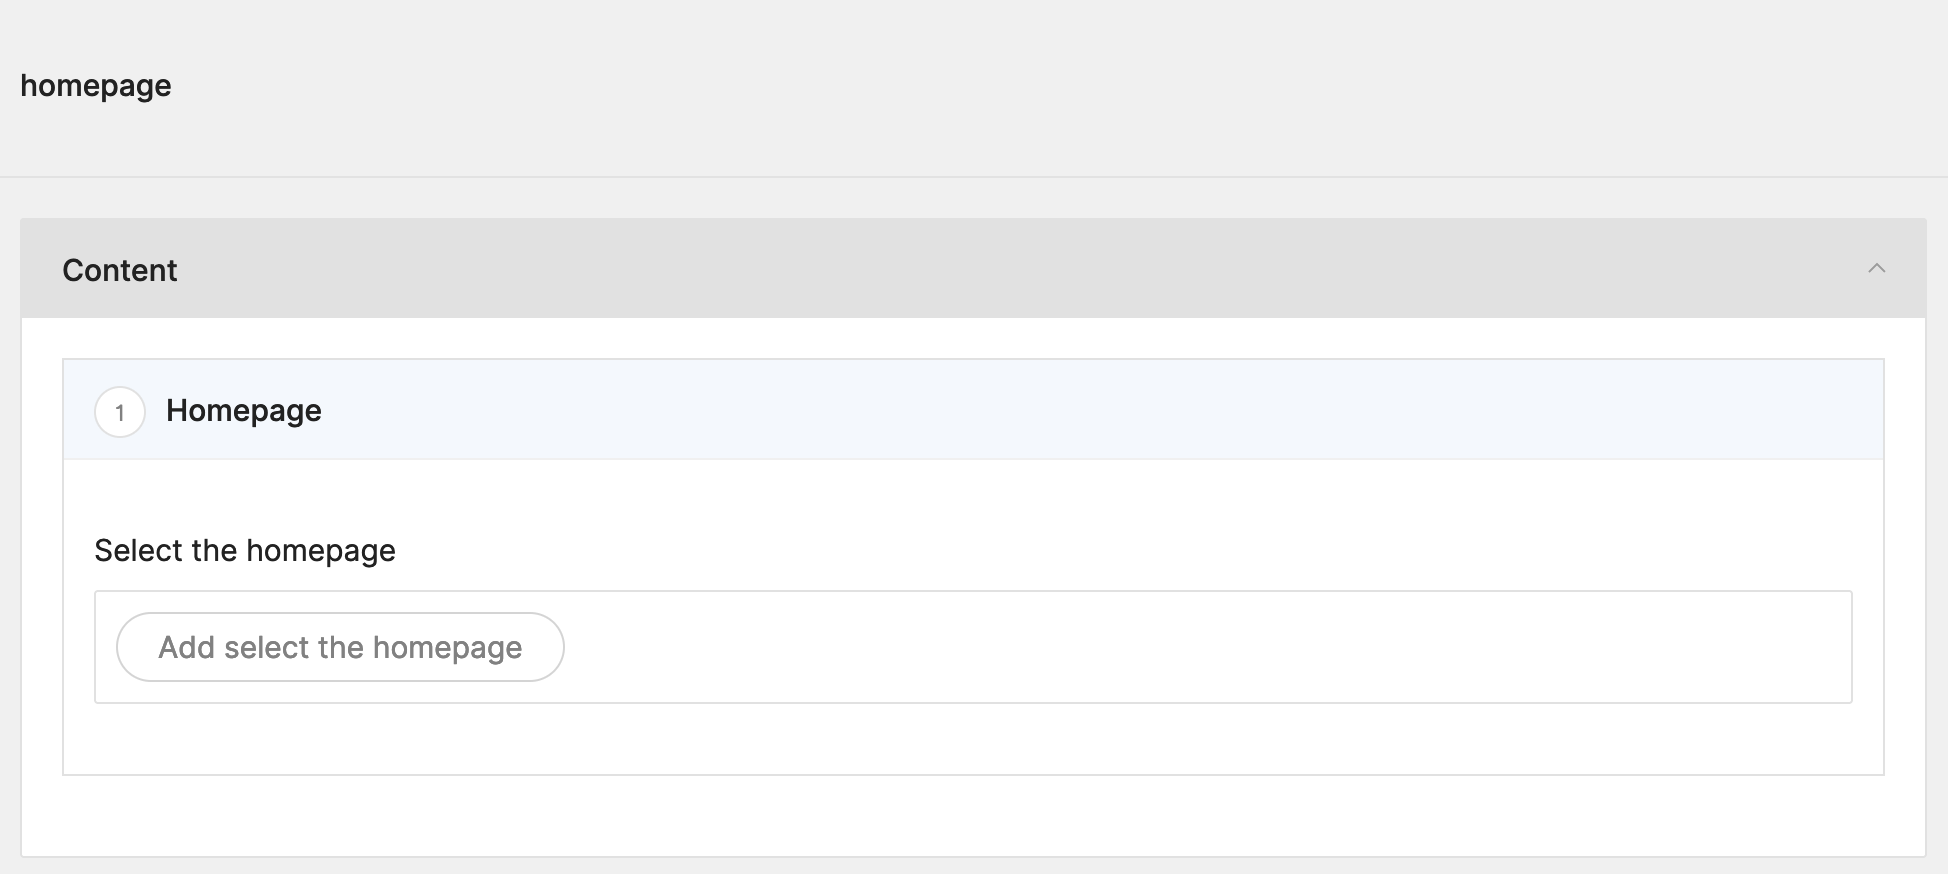
Press browse, select a page and let's continue by writing the required front-end code to use it!
Writing the controller
If we open up routes/web.php again, we see a small part about the welcome view, we will replace that with a call to
our page controller:
1Route::get('/', function () { 2 return view('welcome'); 3}); 4Route::get('/', [\App\Http\Controllers\PageDisplayController::class, 'home'])->name('frontend.home'); 5Route::get('{slug}', [\App\Http\Controllers\PageDisplayController::class, 'show'])->name('frontend.page');Then we add the home method in the PageDisplayController which will get the setting and return the proper page:
1<?php 2 3namespace App\Http\Controllers; 4 5use A17\Twill\Facades\TwillAppSettings;
6use App\Repositories\PageRepository; 7use Illuminate\Contracts\View\View; 8 9class PageDisplayController extends Controller10{11 public function show(string $slug, PageRepository $pageRepository): View
12 {13 $page = $pageRepository->forSlug($slug);14 15 if (!$page) {16 abort(404);17 }18 19 return view('site.page', ['item' => $page]);20 }21 22 public function home(): View23 {24 if (TwillAppSettings::get('homepage.homepage.page')->isNotEmpty()) {25 /** @var \App\Models\Page $frontPage */26 $frontPage = TwillAppSettings::get('homepage.homepage.page')->first();27 28 if ($frontPage->published) {29 return view('site.page', ['item' => $frontPage]);30 }31 }32 33 abort(404);34 }35}There's a bit more code here, we do some additional checking to make sure an item is selected and it is published. That way we never show any content that should not be visible yet.
And that's it! You have completed the guide!
We made a lot of progress, we have a block builder, a menu, settings and a front-end!
You now know about all the basics it requires to build sites with Twill.
If you have more questions, feel free to get in touch on Discord or Github!